Docketwise Signature Instructions
Docketwise is a tool used by some lawyers (including ours) to have legal documents signed electronically. This means that you don’t have to go to the lawyers office, or wait for documents to be sent in the mail, to sign certain documents.
Although convenient, it does mean navigating both email and the Docketwise website in order to correctly sign documents. This web page is providing detailed instructions on this, which screenshots (based on my own experience signing a document recently) to help guide you through the process.
1. Receive the email
The process starts with an email from Docketwise, which will look something like this:
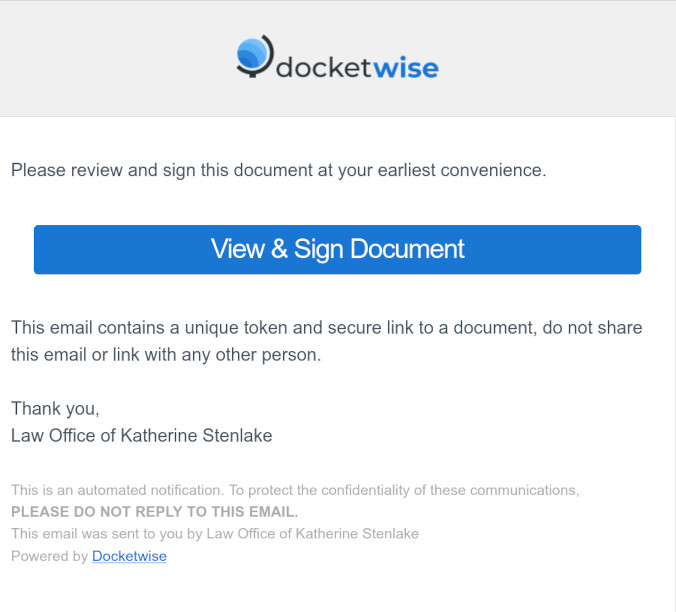
When you get this email, click on the big blue “View & Sign Document” link to proceed to the Docketwise website and the document.
2. View the Document
Once the Docketwise website opens, it should should you a page that has the whole legal document and a “Submit” button on the top right. It will look something like this:

I blurred out the text from the document, but you will be able to read the document you received. Read through the entire document (if the document is not in your language, use translation tools as necessary) or ask someone to help you read the document. Since you are signing a legal document, it is important that you understand what you are signing.
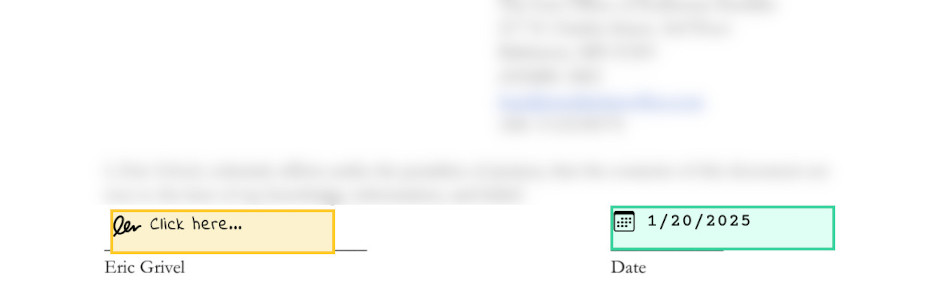
When you go through the document, there may be colored boxes. The important ones are yellow, they mean you have to do something. Green colored boxes are either already completed, or are automatically done by the computer.
I have seen two types of yellow boxes, a signature box (a yellow box that starts with a scribble):

and a text box (a yellow box that starts with the letter “T”):

The next two sections describe how to fill out a signature box and a text box.
3. Enter your Signature
The most common function of Docketwise is to enter a signature. When you click on a yellow signature block
you get a window to enter the signature:
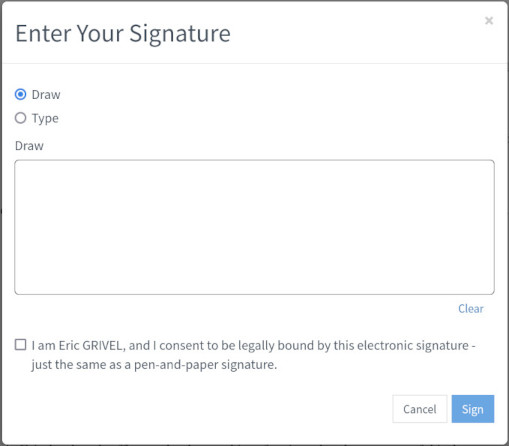
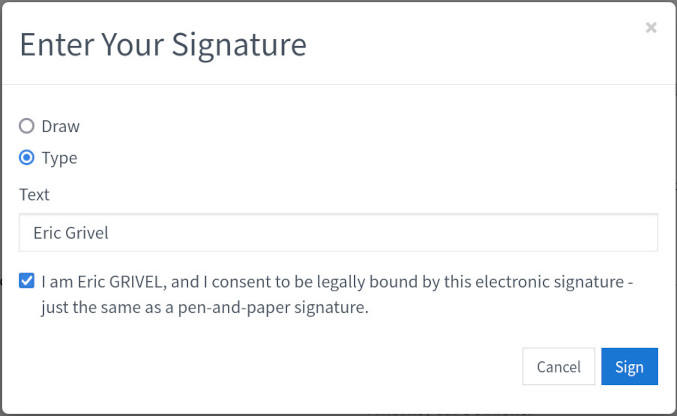
There are two ways to enter a signature: “Draw” (use your finger on your phone or mouse on the computer to draw your signature) or “Type” (use a keyboard to type your name in a textbox). Either way is fine. It starts out with the “Draw” option, but you can click on “Type” to change to the keyboard option:
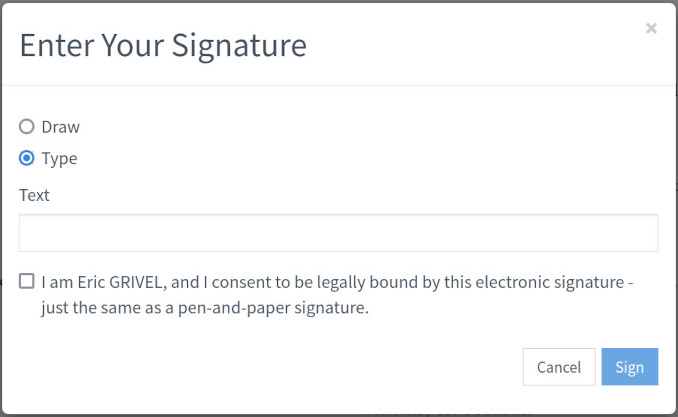
Whichever way you choose, after entering your signature make sure you click on the little square in front of “I am ...” (with your name) to confirm that it is you who is signing. Finally, click on the blue “Sign” button.
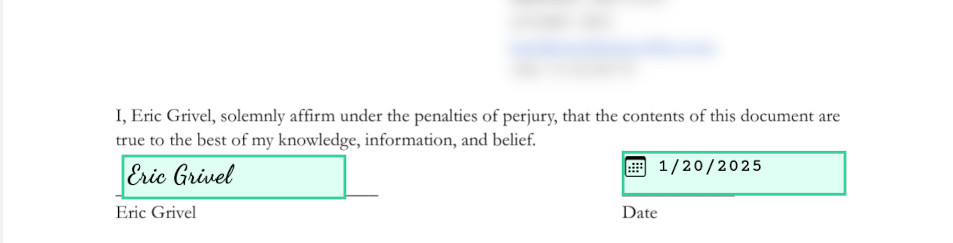
When you get back to the main document, the yellow signature box has now turned green and your signature is shown in it.
4. Additional Information
Some documents require you to enter additional information, and they use additional yellow boxes for that. A box with a “T” icon means you have to enter information in a textbox.
Click on the text box, use the keyboard to enter the information
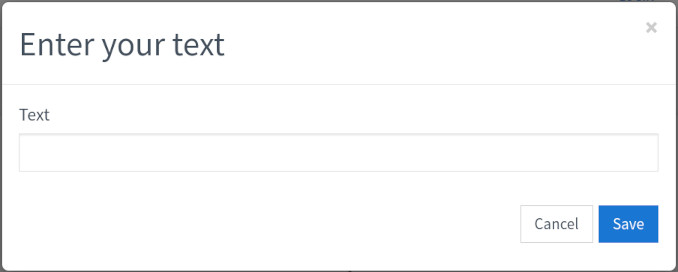
and click the “Save” button. This should bring you back to the document, with the yellow box now turned green. The text you entered may be hard to read, but it is there.
5. Submit
After entering all the information, it is time to submit the signed document. To do that, make sure that there are no yellow boxes left, and then go all the way back to the top of the document.

All the way at the top is a blue “Submit” button. Click this button to submit the document (send the signed document to your lawyer).
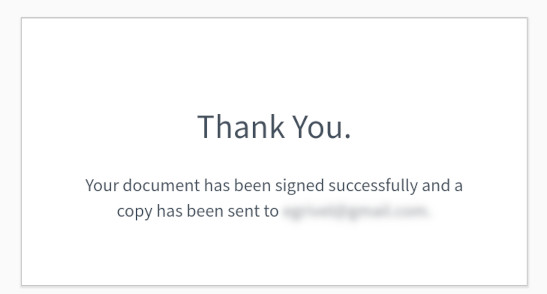
After a few moments, you should see a confirmation screen, thanking you for signing the document and confirming that a copy of the signed document is sent to your email address.
That’s it, you are done. You can now expect a PDF copy of the signed document in your email. If your document needs to be signed by multiple people, you will receive a copy with everyone’s signatures as soon as the last person completes their signature.